
When: This particular piece was taken at around 4pm July 8th 2009. The mid summer weather in Yosemite gave a clear blue sky.
Where: This was taken in the middle of Mirror Lake, Yosemite National Park, CA

How:
Gear: I bought with me Nikon D90, Tokina 11-16mm, light weight tripod. Tokina 11-16mm because it's wider thus you would need to take less picture to create wee planet. BTW, you would not need to have DSLR or something fancy to do this. I've seen people with point n shoot camera get a better planet than I do. After all this only the second planet I'm making.
Setting: Depend on what camera you are using and change the resolution. But at the end, the software only process picture at 1600-1063. So I set Small/Basic for my camera. I had this all done using Program mode. Many people suggest use Manual so you have consistent light for your series. But I think that just make some are over and some under exposure.
Shooting: When doing this, rotate you and camera around lens, not lens and camera around you! Best way is to lean lens on tripod grip pointing upward. Shoot continuously 1 after another with about 30-50% overlap. More is always better as you can remove the access later. Go from 3-5 degree (straight down is 0 degree) up to about 130 or until you cover all the objects. Go left to cover 30-50% and go down to ground again. Keep doing this until you cover all the surrounding. I normally do 5 per column and go for 8-9 columns.
Process:
1. Resize: If the photos are not 1600x1063 or smaller, save yourself sometime by doing batch edit because Hugin doesn't like big pics and resize it very very very slow. I used Photoscape to resize in batch. This is a free software and the most easy to use I've ever seen.
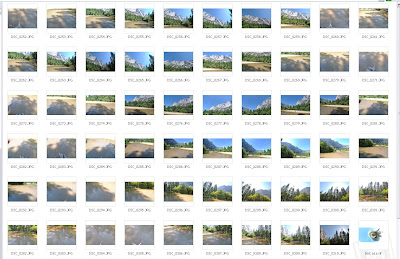
2. Load: Click load image and load all the photo you just resized in step 1. No rocket science yet! Depend on which lens you use to change the lens configuration. I used Tokina 11-16mm and didn't have to change anything.
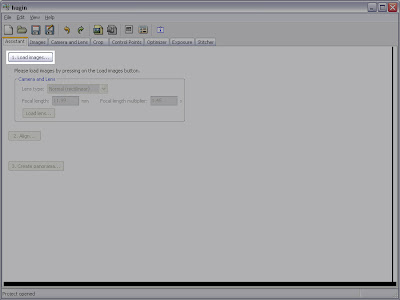
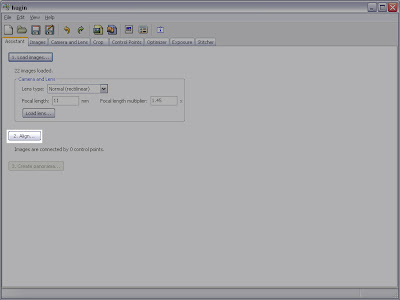
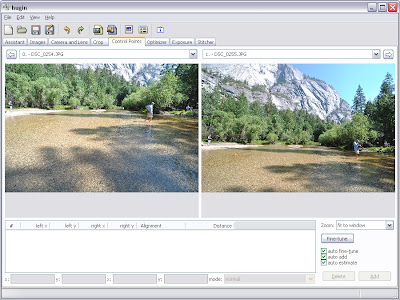
4. Manually find control points: Here come the rocket science part... j/k. Go to Control Points tab and select the 2 photos that having problem with control points. Say left side is 0 and right is 1. Manually click on left or right side and find similar location on the other side the click ADD. Find 5-10 control points per pair of photo. Go back to first tab and click align again. If still does not work after many time repeating this step, just remove whichever photo that is giving you trouble (hopefully you had more than enough to cover all the area.)
5. Equiretangular: Once successfully align, preview window will pop up(if not Ctrl+P should do it), you will get a Equirectangular like below. 
6. Stereographic: At bottom left corner, select change Equirectangular to Stereographic. At this point you'd get some weird image. Don't panic. Adjust bar at the bottom of the image. Pull to about 10 notch from the right and you'd see your planet. Left click mouse on the ground at about where the camera was or until the planet's lay out the way you want it to be. Right click to adjust turn planet. At this point, you'd see something like the below picture. Excited? but not as clean as you want it to be.
7. Clean up: Uncheck as many images as you can under Display images as long as it does not make major change or shift your master piece. Go back to Hugin window, under images tab, delete corresponding images. Number in Displayed image is the number under column #. Close preview window once completed.

8. Stich: Go to tab Sticher and make selection as showed below and click stich now. Wait, wait and wait...
